
For all my lovelies out there that love the idea of having longer/fuller lashes but are not gifted with the patience to apply lash strips on the daily or hate the idea of sitting still and splurging a whole lot of mula for lash extensions… this is a public service announcement for you!
Cue happy dance. Enter LASHIFY. (Psst the link is a discount code)

According to the brand, LASHIFY is a lash system developed to allow lashers to get a lux lash look with out the inconvenience of time and money spent on lash extensions.
As someone that used to get lash extensions and as someone that has always hated the application mess of strip lashes the concept of LASHIFY sounded more than appealing. I was skeptical at first of the brands claim on how easy they were to apply. So I decided to try it out for myself. So lets take a stroll down LASHIFY Lane.
WHAT: LASHIFY is a faux lash system.
In order to get started you will need to purchase what they call the “Control Kit”. The kit has everything you need to get started.

HOW:
Step one: Make sure you start with clean, dry lashes. Avoid any oil-based products, including cleansers and creams on or near the eyes before and after application. Use “Lash Prep” or a non oil based face cleanser to achieve this. Avoid micellar water near the eyes after application as well. Step one is the most important step since the gossamer lashes will not adhere correctly otherwise.
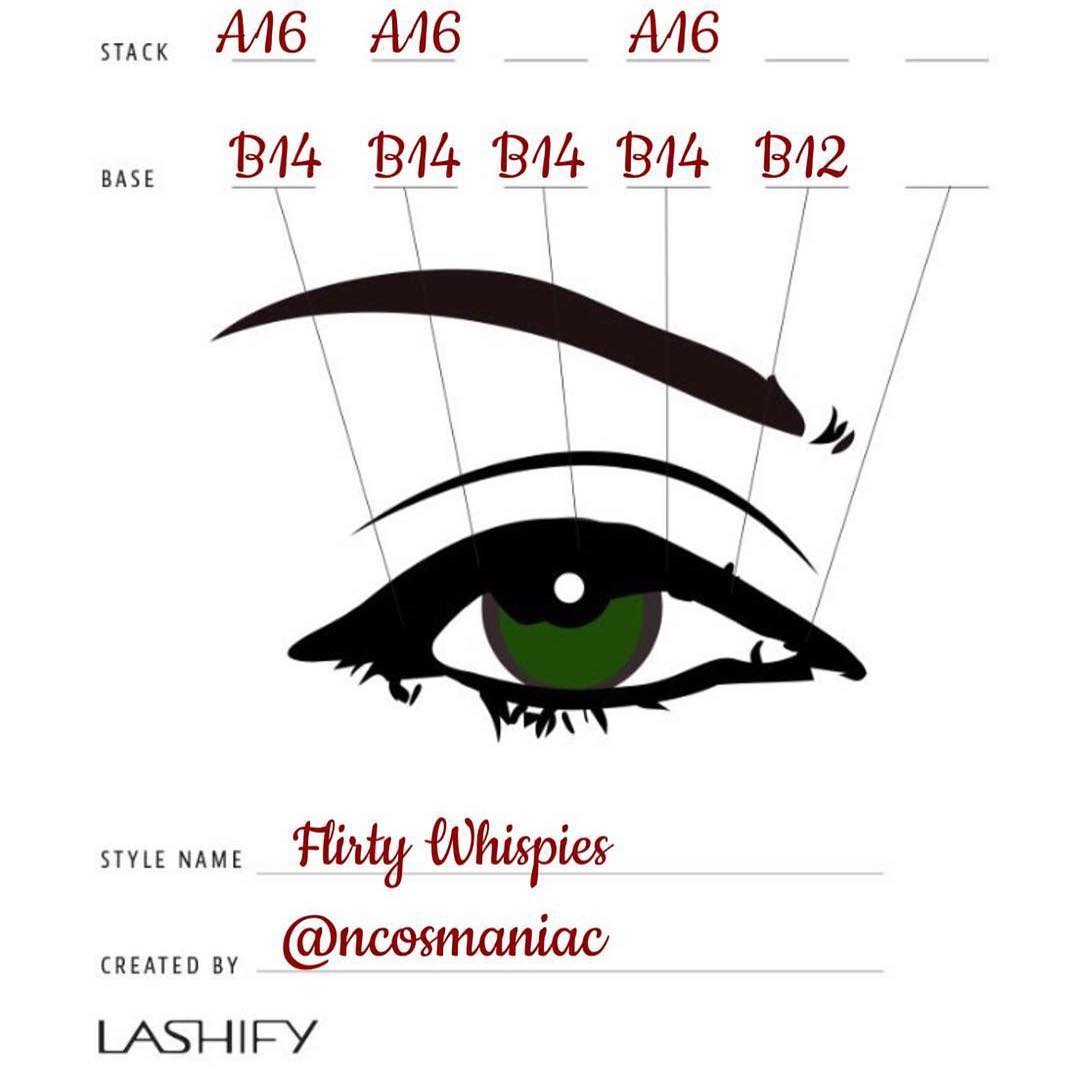
Step two: Free the gossamer lash clusters from their respective cartridges. Get an idea where/how you want to place them (you can find “lash maps” on LASHIFY’S IG feed) to curate personalized looks.

Step 3: Apply the bond. Make sure you are using enough bond (but not to much) at the roots of your natural lash. You want to keep it at the base of the natural lashes, not brush it through the length of natural lashes. You also want to make sure you are attaching the Gossamers to the lashes and not the waterline. Placement is very important. Many new users may apply on the wetline or to close to the wetline. Not only will the bond not adhere as well there, it’s not possible to get a proper fuse. This will ultimately lead to the lashes not lasting. The glue comes in a double ended package with white (clear glue) on one side and black on the other. For beginners I would recommend using the clear since it is easier to see where you are applying it.
Tip: Remember a little goes a long way! The beauty of this glue and lash combo is that you can rearrange and re-apply each gossamer as many times as you need before you “fuse” it into place.

Step 4: Fuse! Fusing in the LASHIFY world is the process of attaching gossamer’s to natural lashes via the fuse control wand. As they say a pic is worth a million words. So here ya go…

Photo Credit: Lashify IG: @lashify
You want to make sure you securely fuse each Gossamer. I recommend fusing after applying each Gossamer, and then again when you’ve completed your Lash Map. You can even flip the wand with the tips pointing away from you, and use the curved part to fuse smaller sections closer to the lid. You should also fuse before bed and in the morning.
The fuse control wand is the magical tweezer like contraption that is designed to deliver the right amount of pressure to safely adhere the gossamer’s to natural lashes. Do not attempt this with regular tweezers as they have sharp edges and can not effectively and most importantly safely fuse the gossamer’s.
Step 5: Finish with the clear coat to take away any sticky residue from the glue (which should not be much unless you have applied too much glue).
Note: You can replace the clear coat with “Night Bond” and “Glass”. These are the other bonds that LASHIFY offers to be used in addition to whisper light to achieve longer lasting lashes. If you do plan to wear them for more than one day make sure you shower facing away from the shower head to avoid to much direct hot water/steam.
Step 6: Go forth into the world knowing your lash game is on point!
LASHIFY proved to be a game changer for me and I think I may have found a new addiction. No more gunky mascara or ruining perfectly done eye makeup from fumbling with strip lashes.
Their customer service has been exceptional as well. I have asked their concierge service numerous questions regarding shipping, application and even tips; every time they have been super helpful and courteous. They will also set up a one on one with a Lashify Xpert via FaceTime upon request.
Try them out and use this link to get $20 off your control kit purchase or purchase of $100 or more. Also, click on any other LASHIFY link in this post and it will lead you to the same page to get the $20 off. Let me know what you think if you decide to try them!
Love,
Elysianish
